| What's New on the Building Board |

|
|
May 2nd, 2016 Luscombe Model 10 No-Cal Final Assembly. Now that all the parts are covered, we can start the final assembly of this little cutie. The first step is either installing the stabilizer, or attaching the motor tube to the fuselage. If the stabilizer shape allows you to simply slide it into the stab slot, then I attach the motor tube first. If the stabilizer shape requires special attention, I install the stab first. The outer chord of the stabilizer on the Luscombe Model 10 is too big to allow it to simply slide into the stabilizer slot, so we'll install the stabilizer first. First cut the rudder off the covered fuselage by cutting betweeen the two vertical rudder posts - you'll end up with two parts that look like this . . . 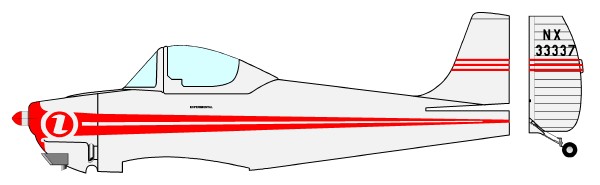 . . . then slide the stabilizer into the stab slot. Glue the rudder back on, trapping the stab in the slot, but DO NOT glue the stab in place yet. When the glue is dry, place the fuselage on a flat surface with the stabilizer hanging over the edge. Place the motor tube (or motor stick as the case may be) in the proper location on the fuselage, and make a small mark above and below the motor tube on each upright. Apply glue to each upright between the marks, align the motor tube between the marks, and set into the glue. Use small weights to hold the motor tube flat on the fuselage until it dries, as shown here . . . 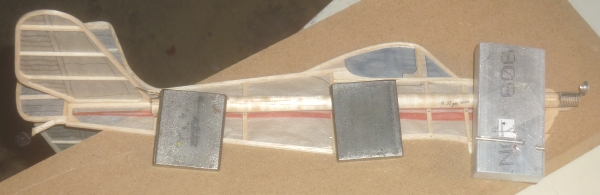 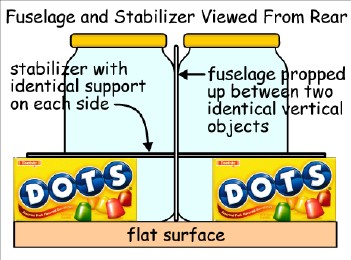 When the motor tube/fuselage assembly is dry, the stabilizer can be fixed in place. For this model, only the leading edge of the stabilizer is permanently glued. The rear is left free so that the stabilizer incidence can be adjusted for glide-testing. Prop the fuselage up vertically by placing identical objects with vertical sides on each side of the fuselage. I have used bottles, cans, jars, pieces of square-cut wood or metal - anything that you have two of which are identical so that the fuselage is perfectly vertical.
Slide the front center point of the stabilizer out of the slot, apply a dab of glue, and slide it back in, making sure that the stabilizer centerline is aligned with the fuselage centerline. Prop both sides of the stabilizer up with identical blocks so the stabilizer is held perpendicular to the fuselage while the glue dries. If you use C/A, make sure the rear of the stabilizer is in the middle of the slot at the back so that the C/A does not wick along the top or bottom of the stabilizer and glue it to top or bottom pieces of the slot. Time to attach the wing. Press the wing into the wing slot, and prop up the fuselage vertically with your favorite items. I used four identical thinner cans this time. With the fuselage straight, carefully tilt the wing until two identical objects placed under the tips give the wing identical dihedral on both sides. When everything is perfectly aligned, I use C/A along the wing root to fix the wing in place. It dries quickly, and won't warp this critical joint like some other adhesives. Here's a top view of the wing being attached to the fuselage. 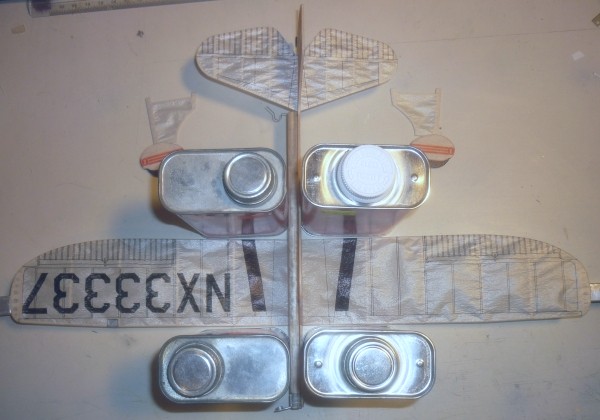 When the wing is dry, glue the piece of the bottom of the fuselage that fits under the wing root in place, and the wing installation is complete. 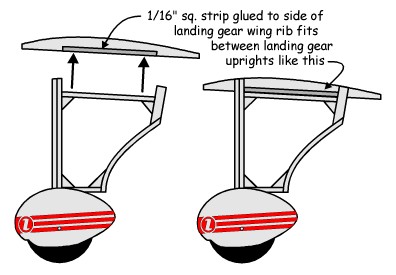 Now we're ready for the last step, glueing the landing gear in place.
From the diagram you can see that the front and rear uprights of the landing gear create a saddle for the piece of 1/16" sq. balsa strip glued to the landing gear wing rib. This gives positive alignment both fore and aft on the wing and in the side view. |
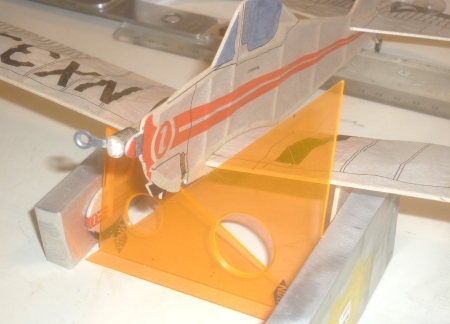 Before glueing the landing gear to the wing ribs, I set up vertically-sided aluminum blocks and small drafting triangles to keep the landing gear straight while the glue dried.
I used Testor's wood glue (green tube) to avoid getting C/A on the wing tissue and to give me time to properly align the landing gear before the glue dried. Once the glue is dry, we're done! What a spiffy little sport plane! 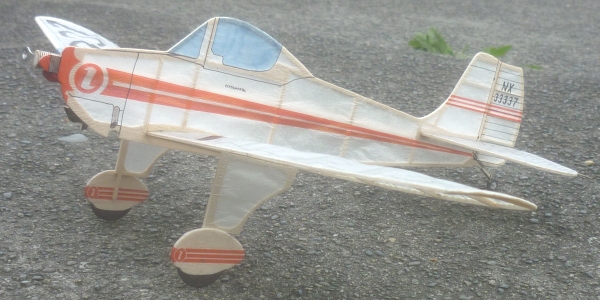
|
|
|