|
|
by Michael A. Morrow |

|
|
The camoflaged version of the Gloster Whittle has some white in the color scheme, so I decided to use white Japanese tissue as the base color and use felt tip markers for all the other colors. You'll need to shrink a piece of white Japanese tissue before you start. See the section on shrinking Japanese tissue for use on No-cals here. |
|
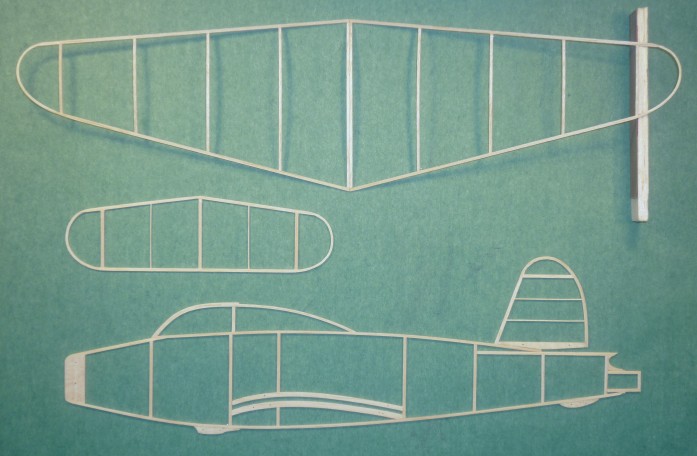
The finished structural parts are shown here. When the tissue is dry, use the structure parts as patterns. Cut a piece of tissue about an inch larger all around than the part to be covered and iron it flat on an ironing board using a dry iron. Start at one end and use your free hand to pull the tissue away from the iron both to the sides and lengthwise to keep from ironing wrinkles into the tissue. |
|
|
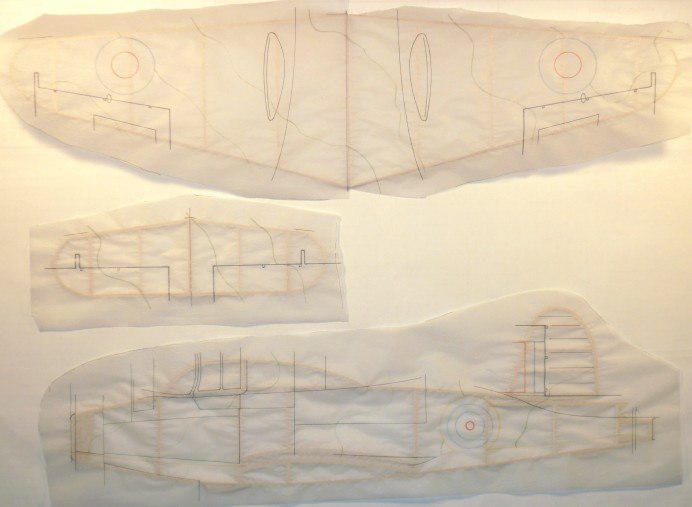
After the tissue is ironed flat, tape it to the plan and use a
fine-point felt-tip marker to add all the panel lines, the outlines of any
markings on the aircraft, and the color seperation lines. Here you can see
all the pieces of tissue have been detailed. Note that some of the color separation lines are the color of the area that will be colored in. The fuselage roundels have a red circle for the red center, and blue outlines for the blue outside ring, and since the roundel will be surrounded by yellow, there is a yellow ring around the roundel. The camoflage color separation lines are shown in green, and you can just see the yellow line that separates the camoflage top colors from the prototype yellow of the bottom of the aircraft. |
 (Click photo to enlarge)
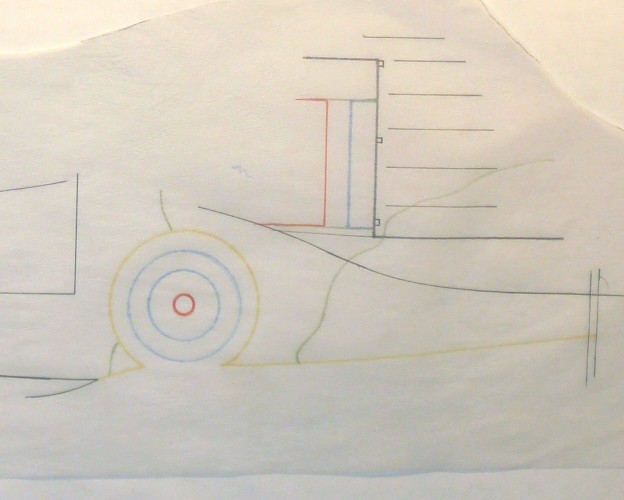 (Click photo to enlarge)
 |
|
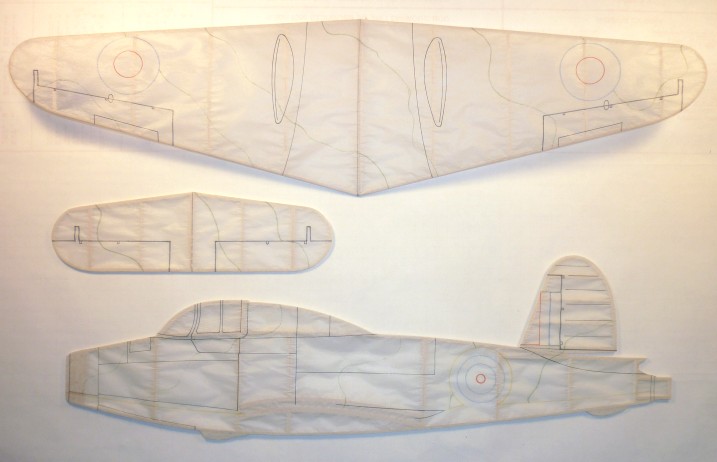
In this picture, the structure has been covered, but the excess tissue has not been trimmed off yet. |
 (Click photo to enlarge)
 |
|
. . . and with the excess tissue trimmed off . . . |
 (Click photo to enlarge)
 |
|
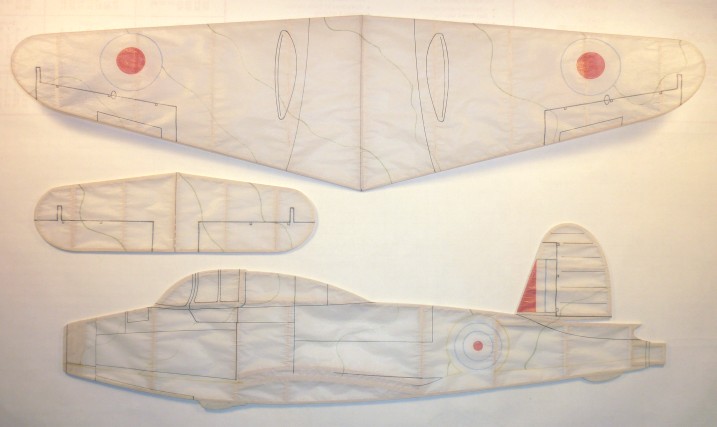
The red centers of the roundals and the front of the fin flash have been colored in . . . |
 (Click photo to enlarge)
 |
|
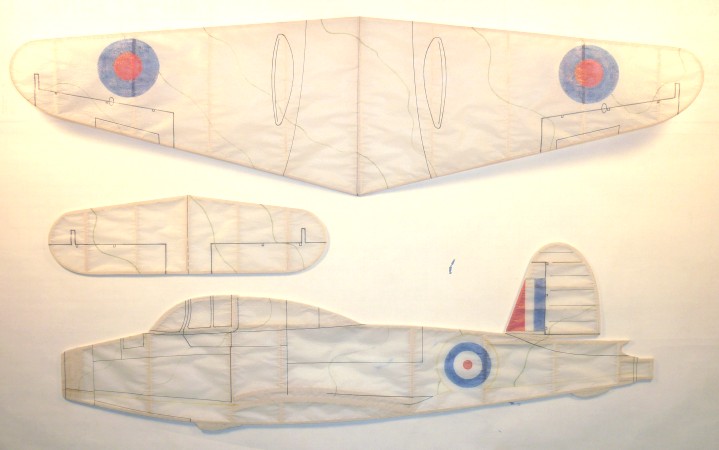
The outer blue ring of the roundals and the aft of the fin flash are colored . . . |
 (Click photo to enlarge)
 |
|
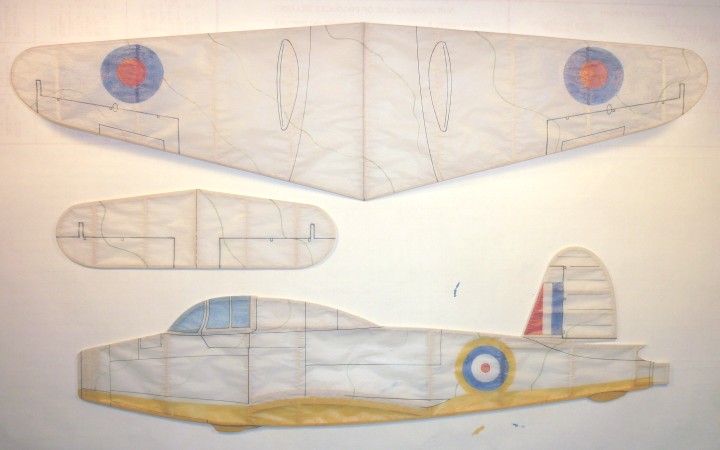
The bottom of the fuselage and the ring around the fuselage roundal have been colored yellow representing the prototype color scheme. PRISMACOLOR permanent marker number PM-123 'SPANISH ORANGE' is a good match for the yellow undersides. The canopy has been colored light blue to represent windows. |
 (Click photo to enlarge)
 |
|
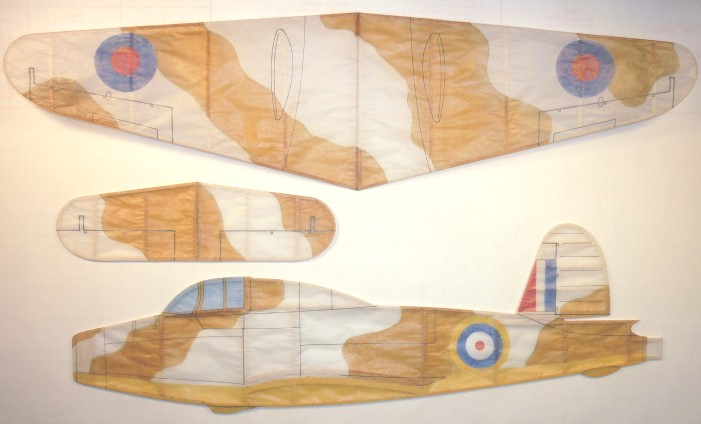
The brown parts of the camoflage have been colored in. I used a PRISMACOLOR permanent marker number PM-69 'GOLDENROD', which worked quite nicely. |
 (Click photo to enlarge)
 |
|
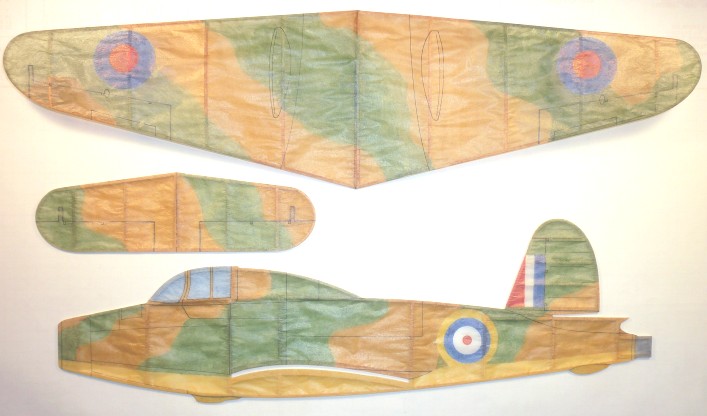
The green parts of the camoflage have been colored in. I used a PRISMACOLOR permanent marker number PM-28 'OLIVE GREEN'. |
 (Click photo to enlarge)
 |
|
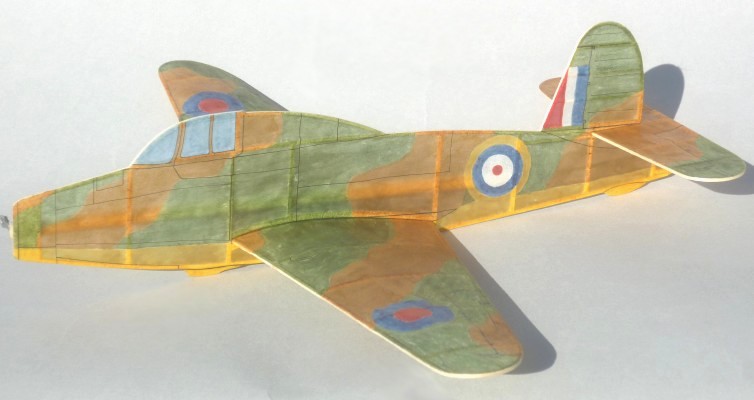
. . . and here's the finished model ready for test flying! |
 (Click photo to enlarge)
 |
|
Michael A. Morrow's AERO ACES - Doing Business since 1995 ! AERO ACES is a TRADEMARK of Michael A. Morrow. © All Images, drawings, plans, articles, and kits, are Registered & Copyrighted by Michael A. Morrow |