| Back to the Plastic Scale Modeling page | 
|
|
Nakagima Ki-44 Shoki (Demon) - U.S. code name "Tojo" the 1/72 scale 1967 Tamiya kit by Michael Morrow 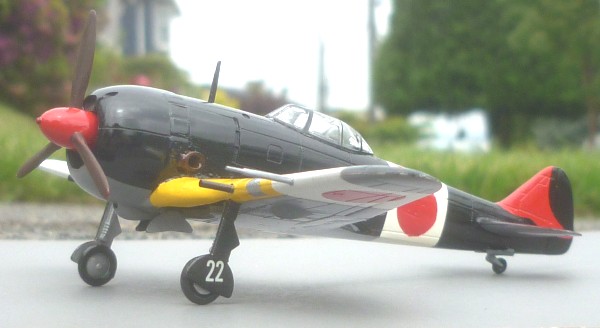
|
 In keeping with my policy of no new kits, and only building from my current kit stash, I found this Ki-44 "Tojo" sitting partially built in a box without a top. It was just begging to be finished, so I did so.
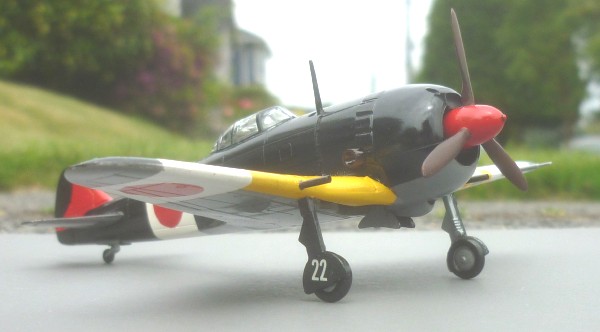
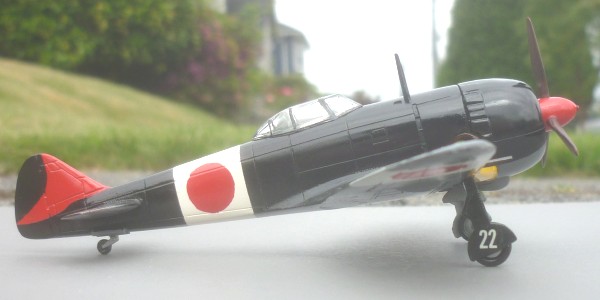
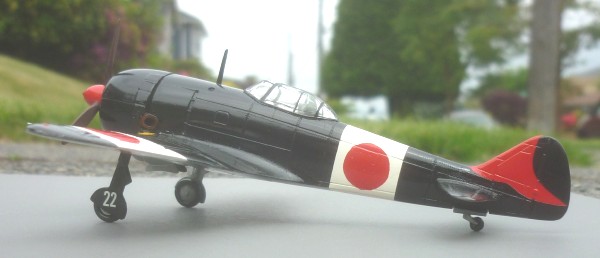
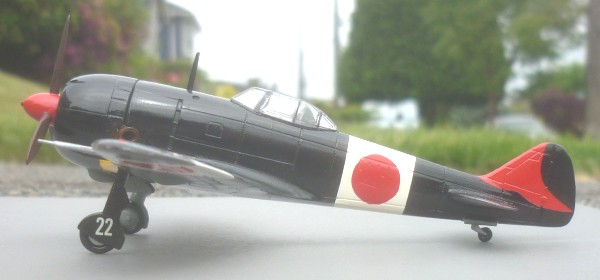
This is the *very* old 1/72 scale 1967 Tamiya kit. It is so old in fact, that the instructions were in Japanese. I think I started it about *cough*1977*cough*. I believe I finished it about two years back, so it sat partially finished, in a box without a lid, for ummm . . . never mind. For it's day, the kit must have been a nice little effort. It has recessed panel lines, which have only (relatively) recently come into vogue, so in that respect, it was ahead of its time. It also featured retractable landing gear and flaps, features that at the time would have been considered advanced, but only a few years after that, were considered "toy" features. I took a long look at the kit in it's partially-assembled state. It had all the major components assembled, including the retractable landing gear and flaps. I decided I didn't need the gear to retract, and the flaps were always hanging down, so I removed the gear, to be glued in the extended position later, glued the flaps in the closed position, and puttied in the fairly large gaps around the flaps. The wing root/fuselage join line had a fairly substantial gap on both sides, so I inserted a 20 thousandths plastic sheet shim on both sides, let it dry, and sanded it smooth. For the most part, the rest of the kit was finished out of the box, except for the markings. I wasn't sure whether the kit decals would be any good after all those years, so I had a look through all the reference material I had available at the time, and decided on the all-black color scheme of Capt. Hideaki Inayama of the 2nd Chutai, 87th Fighter Sentai. This striking color scheme could be replicated without using any decals, and the black paint might hide some of youthful mistakes committed back when I started the model. |
 |
|
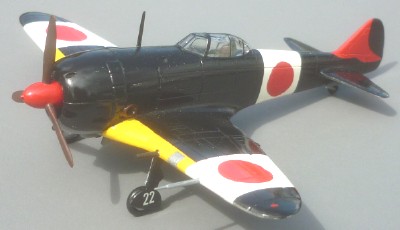
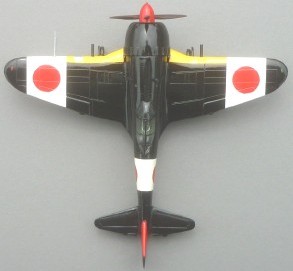
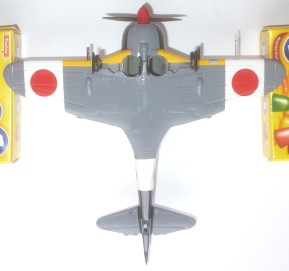
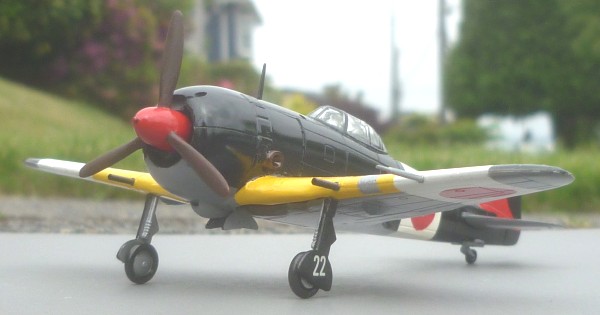
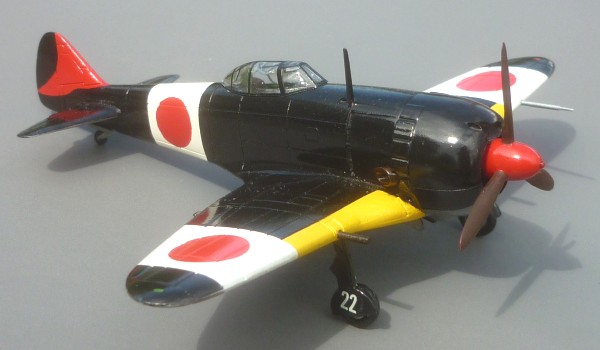
After all the filling and sanding was done, I sprayed the entire model flat white. I had decided to paint the circular red insignia, so I made circular hole masks, masked off the white bands, and sprayed the red circles and the vertical tail red. After waiting for the red to thoroughly dry, I completely masked off the white bands, and sprayed the wing leading edge sections yellow. After another long wait for the yellow to dry, it too was masked off, and the bottom of the aircraft was sprayed grey. When I was sure the grey was dry, I masked off the grey, and the red design on the vertical tail, and shot the rest of the model with black. The painting mostly finished, it was time to add the details. The cannon barrels and pitot tube were added to the wings, and the antennae was glued to the fuselage top. All that was left was the prop, landing gear, and canopy. The prop and spinner were a one-piece affair, so it was shot with flat white, then red, and after the red was dry, the prop blades were painted brown. The landing gear legs were one-piece gear leg/door parts. I painted the inside of the gear legs grey, and the outside black, and glued the gear legs in place. When they were dry, I added the wheels to the gear legs. 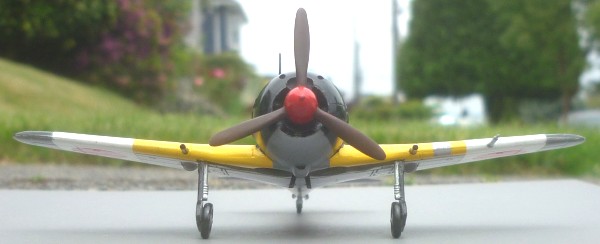 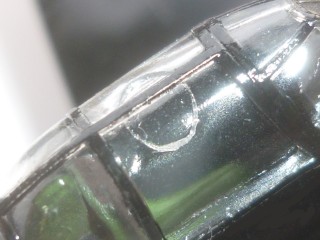 The canopy was a whole 'nother affair. As it came in the box, there was a huge mold release circle on the inside of the canopy right on top, plainly visible for all to see. I wanted to build the kit straight out of the box without resorting to fancy bits, like vacuum-formed canopies, so I cut, scraped, and sanded the inside of the canopy as best I could, polished it as well as I could manage, and gave it the Future® floor polish treatment. It's not too bad, but canopies have definitely come a long way since 1967!
All in all, this was a neat little kit. I enjoyed the build, and I like how it came out. If you take it's vintage into account, don't have exorbitant expectations, and are willing to fill a seam or two here and there, building one of these older kits can be inexpensive*** and quite enjoyable, and in this case, it was both! *** I'm pretty sure I didn't pay more than about $1.69 for it back in the day. 
|
|
|
|
|
|
|
| Back to the Plastic Scale Modeling page |
|